6. Bleed is non-negotiable
Printing involves mechanical variation — trims are never perfectly exact. As paper moves through presses and finishing equipment, slight shifts are inevitable, which is why bleeds exist. Bleeds are the extra image area that extend beyond the final trim edge, ensuring background colors or images run cleanly to the edge even when trimming shifts occur. This creates a professional, edge-to-edge finish.
Without a bleed, even small trimming variations can result in unwanted white edges. A standard bleed typically ranges from 1/8” to 1/4”, depending on the job and finishing method, but it’s often overlooked until it’s too late.
Tip: Always build a bleed into your files and confirm exact requirements with your printer before export.
7. Some final output formats are extremely inefficient (and expensive)
Design choices don’t just affect how a piece looks — they directly impact how efficiently it can be produced. Certain formats, particularly square or highly custom sizes, may feel modern or distinctive but don’t align well with standard press sheets.
When a format doesn’t fit efficiently on a press sheet, paper is wasted during trimming, production takes longer, and costs increase. This inefficiency can also carry through to mailing, where non-standard sizes often result in higher postage rates.
Press-friendly sizes, such as 8.5” × 11” or other standard formats, maximize paper usage and streamline production, helping keep both printing and distribution costs under control.
Tip: If you’re considering a non-standard size, consult your printer early to avoid unnecessary cost and production issues.
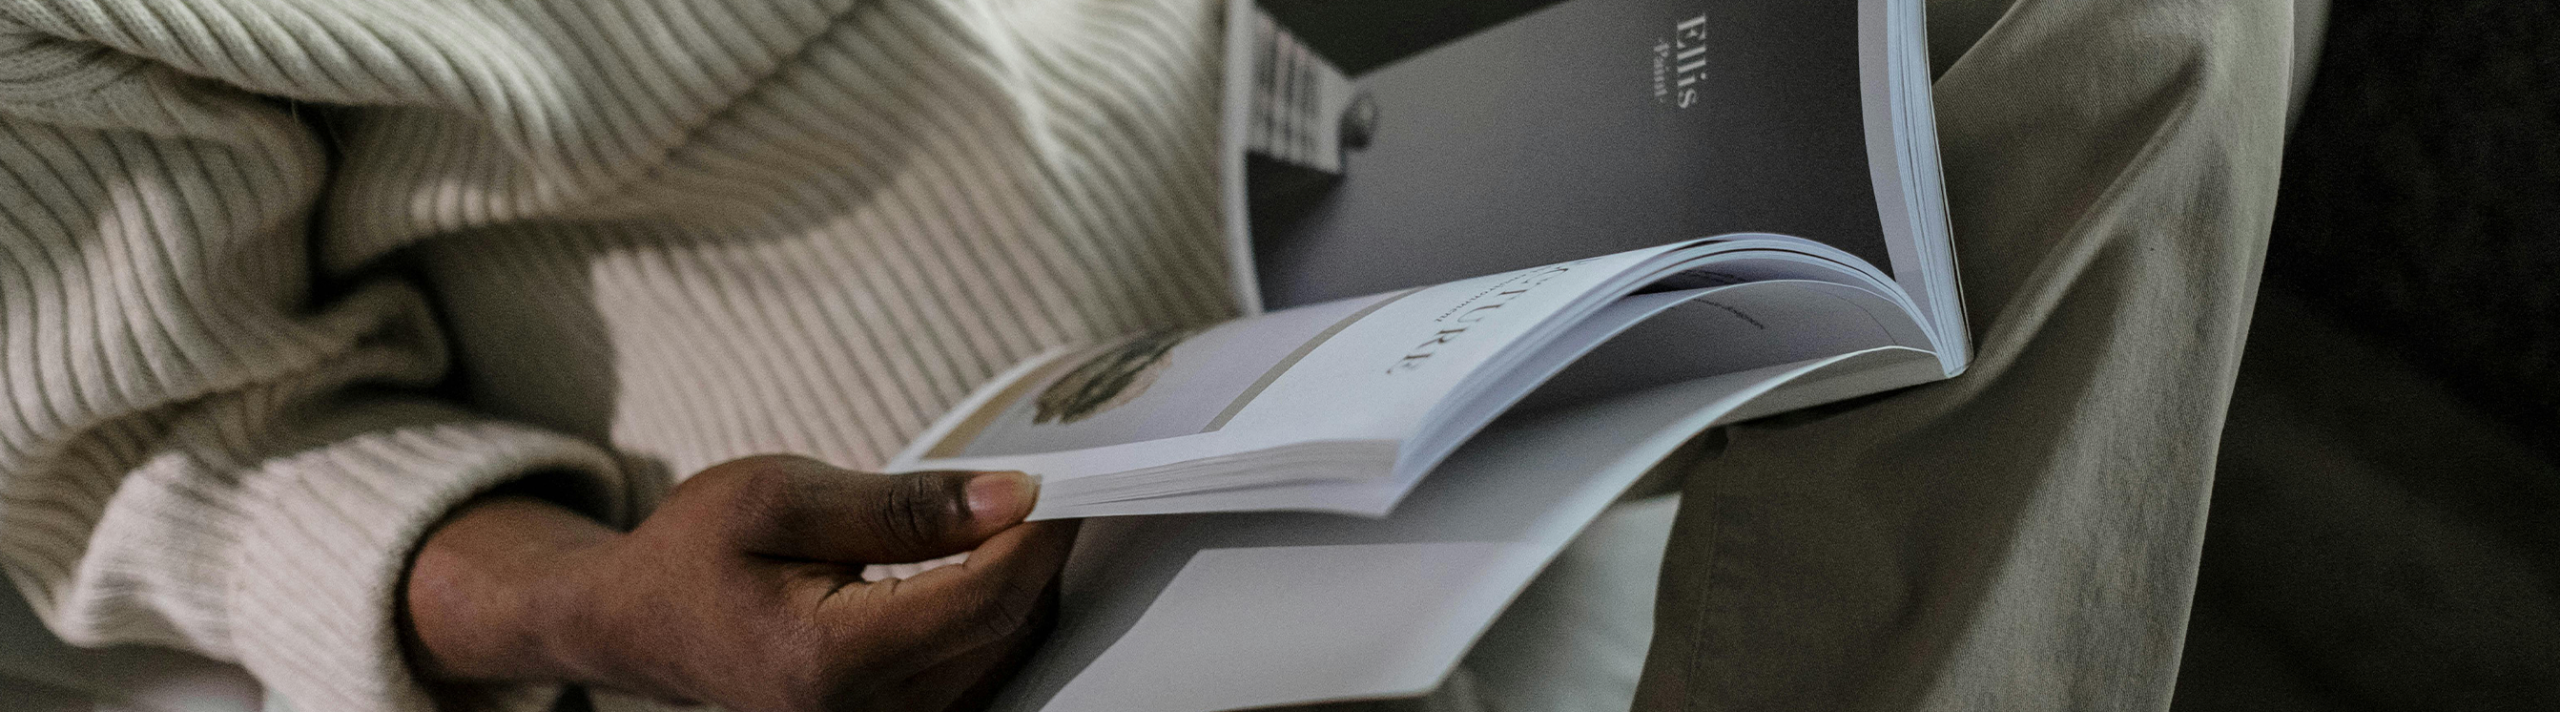
8. Page count matters: saddle-stitched booklets must be in fours
Saddle stitching is a common binding method where folded sheets of paper are nested inside one another and stapled along the spine. Each folded sheet creates four pages, which means that documents bound this way must always have page counts divisible by four (4, 8, 12, 16, and so on). This technical requirement is often forgotten early on, especially during the creative process.
When the final page count doesn’t align with this structure, content may need to be added, removed, or redesigned late in the process, leading to delays, added costs, or rushed compromises that affect quality.
This issue isn’t a printing mistake — it’s a planning one.
Tip: Consider pagination early, before final layout begins, especially for brochures, booklets, and programs.
9. Perfect binding is risky under tight timelines
Perfect binding is a common binding method where pages are trimmed flush and glued along the spine, creating the clean, square edge seen in books, reports, and magazines — often chosen for its polished, professional appearance.
Because perfect binding relies on glue, it requires sufficient time and the right conditions to fully cure — a reputable printer will never proceed without that time built into the schedule.
Issues arise when project timelines don’t allow for this. In those cases, teams may need to adjust schedules or consider alternative binding methods.
Tip: Perfect binding delivers a refined finish, but only when timelines allow. For tight deadlines, more forgiving options like saddle stitching are often the safer choice.
10. Packaging files: there is no margin for error
Packaging files carry the highest stakes in print production. Unlike flat print (such as brochures, flyers, and posters), packaging involves folds, cuts, and three-dimensional assembly — leaving very little room for interpretation once files go to press.
Measurements must be exact and dielines followed precisely, as even a small miscalculation — such as a misplaced fold or a fractional measurement error — can affect the entire production run.
Unlike flat print pieces, packaging errors can rarely be corrected with a quick fix. Once production begins, mistakes often require materials to be scrapped and the job to be restarted — increasing cost, waste, and timelines.
Tip: Double-check all dimensions and review collaboratively prior to approval. Use low-resolution PDFs and 3D mockups to review layout, content, and dielines before creating final production files.